
A Proven Method for How to Get My Infant to Sleep in His Crib
This post contains affiliate links. As an Amazon Associate we earn from qualifying purchases.
To get your infant to sleep in his crib, match three things: a certified-safe sleep space, a drowsy-but-awake transfer at the right biological time, and a consistent pre-sleep routine. The crib must have a firm, flat mattress with a tight-fitting sheet and nothing else. Start the transition when your baby shows early sleepy cues, not when they’re already overtired. Put them down drowsy, leave the room, and respond with gradual check-ins if they cry.
That last clause, “respond with gradual check-ins”, is where most plans derail. Parents hear “cry it out” and recoil, or they hear “no tears” and camp out all night. Neither works long-term because both ignore the infant’s sleep pressure curve. The transfer has to happen when sleep drive is high enough that the crib feels like the endpoint, not an interruption.
What follows is a walkthrough of the safety specs first (because a safe crib is non-negotiable), then the three-step transfer method, and finally the fixes for the four most common setbacks: rolling, standing, false starts, and nap refusal.
Key Takeaways
- Safety is the first step: A crib mattress must be firm and flat, with no more than a 3-centimeter gap at the sides. Inclined sleep products over 10 degrees are not safe for sleep.
- Timing beats age: Start the transition when you see early sleepy cues (slowing down, staring) at a consistent time each night, not at a specific week on the calendar.
- The routine is the signal: A 20-minute sequence of feeding, book, song, and crib placement teaches the infant that the crib is next. Do this before naps, too.
- Respond to protests, not whimpers: For a baby over 4 months, wait 3-5 minutes before a brief, boring check-in. Picking them up resets the clock.
- Rolling is a milestone, not a problem: Once an infant can roll over on their own, you don’t need to reposition them. Just ensure the crib is empty.
The Non-Negotiables: Building a Safe Sleep Space
You cannot sleep train in an unsafe crib. The safety specs are not suggestions; they are the guardrails that keep the process from becoming dangerous. Before you attempt a single transfer, verify these five physical conditions.
The mattress is the foundation. It must be firm enough that it does not conform to your baby’s head or body when lying down. A soft mattress creates a pocket that can increase the risk of suffocation and rebreathing.
Where this goes sideways: Using a memory foam or adjustable-firmness mattress. These materials can indent under the baby’s weight, creating a pocket that traps carbon dioxide. The risk is highest if the infant rolls prone.
Canada’s health guidelines specify exact measurements: the space between the mattress and the crib sides should not exceed 3 centimeters. A thicker mattress can create a dangerous gap where an arm or leg can become trapped. For a standard crib, the mattress should be no more than 15 cm thick.
| Crib Component | Safety Specification | Why It Matters |
|---|---|---|
| Mattress Firmness | Firm, non-inclined, flat surface | Prevents airway obstruction and rebreathing of carbon dioxide. |
| Mattress Gap | ≤ 3 cm (about 1.2 inches) | Prevents entrapment of limbs or body between mattress and crib rail. |
| Slat Spacing | ≤ 6 cm (2-3/8 inches) | Prevents head from becoming trapped between slats. |
| Bedding | Only a fitted sheet | Loose blankets, pillows, and stuffed toys increase suffocation risk fivefold. |
| Product Standard | Meets CPSC crib/bassinet standards | Ensures structural integrity and prohibits dangerous designs like drop-sides. |
For warmth, use a wearable blanket or sleep sack. Dressing the infant in layers is safer than using loose blankets. A good crib mattress protector is also essential, it guards the mattress without adding softness.
Check the crib itself. If it was manufactured before September 1986, do not use it. Safety standards for slat spacing changed dramatically that year. Drop-side cribs are banned in Canada and should not be used anywhere. Even a newer crib can be unsafe if hardware is loose, missing, or replaced with incorrect parts.
The CPSC crib safety standards are the federal baseline in the U.S. Any sleep product marketed for infants under 5 months must meet these standards. This rule, passed in June 2021, outlawed a whole category of risky products like inclined sleepers, baby nests, and compact travel bassinets that didn’t pass the test.
The 3-Part Method: Environment, Timing, and Routine
Getting an infant to stay in the crib is a puzzle with three pieces. Miss one, and the whole structure wobbles. You need the right place (the safe crib), the right time (the sleep window), and the right sequence (the routine).
1. Optimize the Sleep Environment
The room matters as much as the crib. Aim for darkness, quiet, and a cool temperature. Darkness cues melatonin production. Use blackout curtains or shades, not a blanket over the window, which is a fire hazard.
White noise is a game-changer. It masks household sounds and creates a consistent auditory cue. A simple, boring white noise machine is better than a phone app that might stop or change volume. Place it across the room, not in the crib.
The CDC safe sleep guidelines emphasize room-sharing without bed-sharing for at least the first six months. Place the crib, bassinet, or a safe bedside sleeper for baby within arm’s reach of your bed. This makes night feeds easier and is associated with a lower risk of SIDS.
2. Identify the Biological Sleep Window
Timing is everything. An overtired infant has a flood of cortisol, the stress hormone, which makes settling impossible. A baby who isn’t tired enough lacks the sleep pressure to stay down.
Look for early sleepy cues, not late ones. Early cues include: – Slowing down – Losing interest in toys or people – Quiet staring – Red eyebrows Late cues, rubbing eyes, fussing, crying, mean you’ve missed the window. Put the baby down at the first sign of early cues, even if the clock says it’s “too early.”
For most infants 4-9 months old, the ideal bedtime falls between 7:00 and 8:00 PM. Wake windows (the time they can comfortably stay awake) stretch from 2 to 3.5 hours as they age. A too-late nap can sabotage bedtime.
3. Execute a Consistent Pre-Sleep Routine
The routine is the bridge from awake to asleep. It should be boring, predictable, and end in the crib. Keep it to 20 minutes or less.
A sample routine for a 6-month-old: 1. Final feeding (outside the bedroom if possible). 2. Diaper change and into pajamas/sleep sack. 3. Carry into dim bedroom. 4. Read one short board book. 5. Sing one lullaby while holding them. 6. Say your key phrase (“Time for sleep, I love you”). 7. Place in crib drowsy but awake. 8. Leave the room.
The “drowsy but awake” placement is the core skill. If the baby is fully asleep in your arms, they will wake up confused in a different place. Drowsy means eyes are heavy, body is relaxed, but they are still aware of the transfer.
The Transfer and Response Protocol
This is the moment. You’ve done the routine. The baby is in the crib, drowsy. You walk out and close the door.
What happens next dictates the next three months.
If they fuss or cry, wait. For an infant over 4 months, set a timer for 3-5 minutes. This gives them a chance to self-soothe, not cry themselves sick, but to grizzle and find a comfortable position. Many will settle within this window.
If the crying continues, do a check-in. Make it brief and boring: go in, pat their belly, say your key phrase again, and leave within 30 seconds. Do not pick them up, rock them, or turn on the light. You are reassuring them of your presence, not restarting the routine.
Space out subsequent check-ins. Wait 5 minutes, then 7, then 10. The goal is to gradually increase their tolerance for being alone in the safe space you’ve created. This method, often called graduated extinction, is supported by the 2022 safe sleep evidence review as effective and not harmful to infant attachment when done consistently.
I won’t recommend the “extinction” method (no check-ins) for most families. The few times I tried it, the crying escalated to a panicked scream that took longer to calm. A boring check-in at 5 minutes often de-escalates the protest without teaching them that crying brings a party.
For naps, use the same routine and response. It will be harder, because sleep pressure is lower. Start with the first nap of the day, when the drive to sleep is strongest. If a nap fails after 30 minutes, get them up, keep the lights low, and try again in 45 minutes.
Troubleshooting Common Crib Sleep Setbacks
 The plan works until it doesn’t. Here are the four most frequent derailments and how to reset.
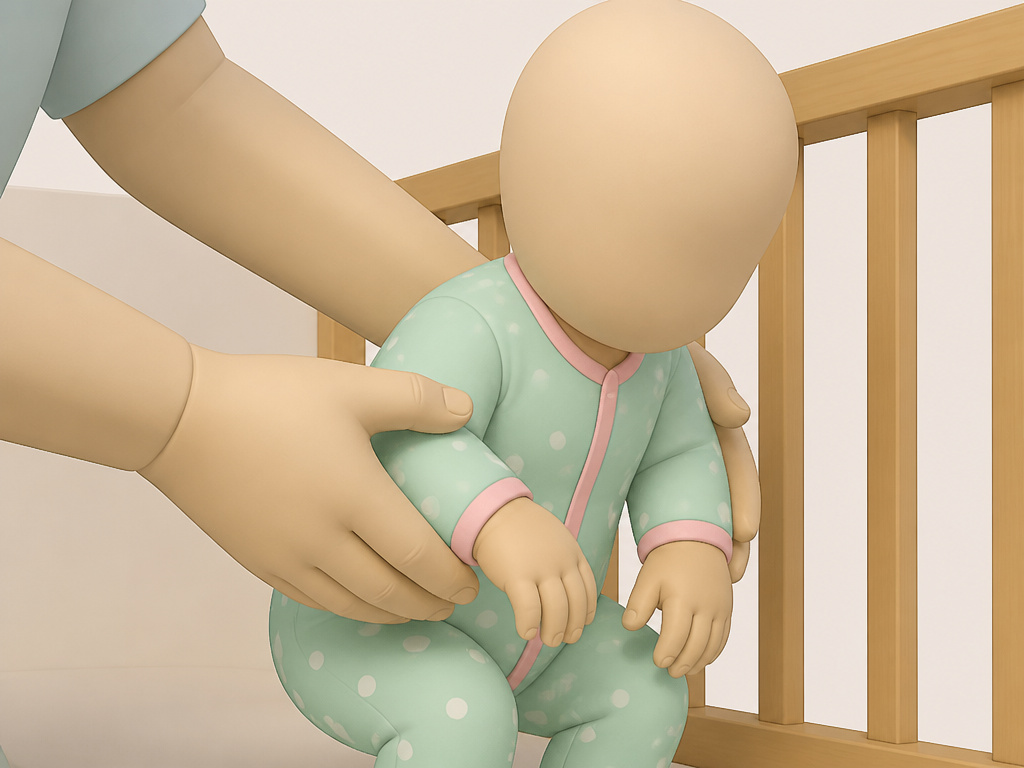
The Rolling Infant: Once your baby can roll from back to tummy on their own, you do not need to flip them back. The ability to roll signifies they have the strength to move their head for breathing. Ensure the crib is absolutely empty, no padded bumpers, no loose sheets. A firm crib mattress is critical here. Many babies actually sleep better on their stomachs once they choose the position themselves.
The Standing Infant: They pull up and then cry because they don’t know how to get down. During the day, practice the motion of bending their knees to sit. At night, during a check-in, physically guide them back down to a sitting then lying position. Do this silently. They will learn the skill within a few nights.
False Starts (Waking 30-45 Minutes After Bedtime): This usually means bedtime was too late and the baby was overtired, or the last nap ended too close to bedtime. Solve it by moving the entire bedtime routine 15 minutes earlier for three nights in a row.
Nap Strikes: Refusing crib naps but taking them on you or in a stroller points to an association problem. The sleep environment isn’t strong enough. Double-check darkness and white noise. Use the same check-in protocol you use at night. Persist for at least five days before reevaluating the schedule.
| Setback | Likely Cause | Immediate Fix | Long-Term Solution |
|---|---|---|---|
| Rolling & Sleeping Prone | New motor skill development | Leave them in the position they find. | Confirm a firm, flat infant mattress with no gaps. |
| Pulling to Stand | Curiosity, lack of motor control | Guide them down during check-ins. | Practice sitting down from standing during daytime play. |
| False Start Waking | Overtired at bedtime | Offer a brief, boring check-in. | Move bedtime 15-30 minutes earlier for a week. |
| Nap Refusal | Weak sleep environment/association | Use consistent nap routine & check-ins. | Ensure room is dark, use strong white noise, protect the nap schedule. |
Before You Go
Start with safety. Measure the mattress gap. Choose a firm, flat surface and a fitted crib sheet. Watch for early sleepy cues, not the clock. Build a short, boring routine that ends with the baby going into the crib awake. Respond to protests with gradual, boring check-ins. When they roll, let them be. The goal isn’t a silent night on the first try, it’s a baby who learns, over a week or two, that the crib is a safe and predictable place to sleep. That lesson sticks.
Frequently Asked Questions
How long does it take for a baby to get used to a crib?
Most infants show significant improvement within 3-5 nights of consistent practice. The first two nights are usually the hardest. Full adaptation, falling asleep without protest, can take 1-2 weeks. The key is unwavering consistency with the routine and your response.
What if my baby only sleeps when held?
This is a sleep association. Break it by shifting the association to the crib environment itself. Start with the first nap of the day in the crib, using your full routine. Hold them until they are very drowsy, then place them in. Use your check-in protocol. It will take longer for naps than nighttime, but the process is the same.
Is it okay to let a baby with reflux sleep on their back?
Yes. The supine sleep position on a firm, flat surface is recommended for every sleep, even for infants with gastroesophageal reflux. Research shows it does not increase the risk of choking or aspiration. Inclined sleepers, which are now regulated, are not a safe alternative.
Can I use a lovey or stuffed animal in the crib?
The AAP recommends keeping all soft objects out of the sleep area until at least 12 months of age. A small, breathable lovey might be introduced after the first birthday, once the risk of SIDS has dropped significantly and the child has full head and neck control. Before that, a wearable blanket is the only safe comfort object.
My crib mattress seems hard. Isn’t that uncomfortable for the baby?
No. Infant bones and spines are developing differently than adults. A firm surface provides the necessary support and prevents suffocation hazards. Adult perceptions of comfort do not apply. The firmness is a non-negotiable safety feature, not a comfort oversight.
