
How to Put a Baby Bed Together: Secure Crib Assembly Guide
This post contains affiliate links. As an Amazon Associate we earn from qualifying purchases.
To put a baby bed together, you match three non-negotiable specs: a mattress no thicker than 6 inches, a mattress support set at the lowest position once the child can stand, and every bolt tightened in the sequence the manual dictates. Skipping the sequence, like fully tightening side rails before the headboard is seated, guarantees a racking frame that loosens within a week.
That sequence matters because crib frames are designed to square themselves under tension. A manual from Dorel Home Products explicitly warns against completely tightening all hardware until the entire assembly is complete. Tighten out of order, and you fight the wood’s natural alignment for the rest of the crib’s life.
What follows: the one tool you actually need, the three measurements printed in every manual you must verify, and the step-by-step walkthrough that stops a wobbly crib before the first night.
Key Takeaways
- The critical mattress dimension is 51-5/8 inches by 27-1/4 inches, with a thickness not exceeding 6 inches. This “seam-to-seam” measurement ensures gaps are smaller than the CPSC-mandated 3 centimeters.
- Assemble on a soft, flat surface like a carpet to prevent scratching the finish and to keep parts from rolling. Two people are mandatory for aligning panels without straining joints.
- Do not substitute hardware. Using a generic bolt from the hardware store voids the warranty and can strip the proprietary barrel nuts inside the wooden rails.
- Set the mattress support to its lowest position the moment your child can pull to a standing position. This adjustment is not optional, it’s the primary fall prevention.
- Check bolt tightness monthly. Wood contracts and expands with home humidity changes, which can loosen joints over time.
The One Tool You Actually Need (And Three You Don’t)
You do not need a power drill, a rubber mallet, or a full socket set. Using them can crack spindle holes, split dowel joints, or strip the soft brass threading inside a barrel nut.
The tool you need is the Allen wrench (or hex key) included in the box. Its specific size, usually 4mm or 5mm, matches the recess in the provided bolts perfectly. A generic multi-tool hex key can be slightly undersized, rounding out the bolt head after a few turns. That leaves you with a bolt you cannot tighten or remove.
Common mistake: Using a power drill on the lowest torque setting. The sudden impulse can overtighten a bolt, cracking the pre-drilled pilot hole in the wood. The crack won’t be visible until the crib bears weight, then the joint fails silently.
Some models, like the Serena & Lily Ludlow Crib, also include specialized washers. The half-moon washer fits into a carved channel in the side rail, locking it vertically. If you lose it and use a standard flat washer, the rail can gradually slide down under a child’s weight.
The Three Measurements You Must Verify Before Buying Anything
Every crib manual repeats the same three numbers. They are not suggestions.
- Mattress Length & Width: 51-5/8″ x 27-1/4″ (131cm x 69cm). This is the minimum mattress size. The Dream On Me manual specifies this measurement is taken seam-to-seam or edge-to-edge. If your mattress is 51 inches even, it’s too small. The gap between the mattress and crib side must be less than 3 centimeters, about two finger widths, when the mattress is pushed firmly into a corner.
- Mattress Thickness: Not exceeding 6 inches (15cm). A thicker mattress raises the sleeping surface, reducing the effective height of the crib sides. Once a child can pull up, their center of gravity is higher, making a fall over the rail more likely.
- Mattress Support Height: Adjustable, with a lowest position. Convertible cribs have mattress supports that can be lowered. The lowest position is not for newborns; it’s for mobile infants. The manual for the Ashley Furniture Winston Crib states you must move the support down when the child can pull to a standing position.
| Measurement | Spec | Why It’s Non-Negotiable |
|---|---|---|
| Mattress Size | 51-5/8″ x 27-1/4″ min. | Prevents entrapment gaps larger than 3cm, a CPSC/AS™ standard. |
| Mattress Thickness | ≤ 6 inches (15cm) | Maintains safe side-rail height for a standing toddler. |
| Support Height | Lowest setting for standers | Primary defense against falls; required by all manufacturer warnings. |
If your baby mattress or crib sheets don’t match these specs, return them. Do not try to make them fit with padding or folds.
Step-by-Step: Assembling the Crib Frame
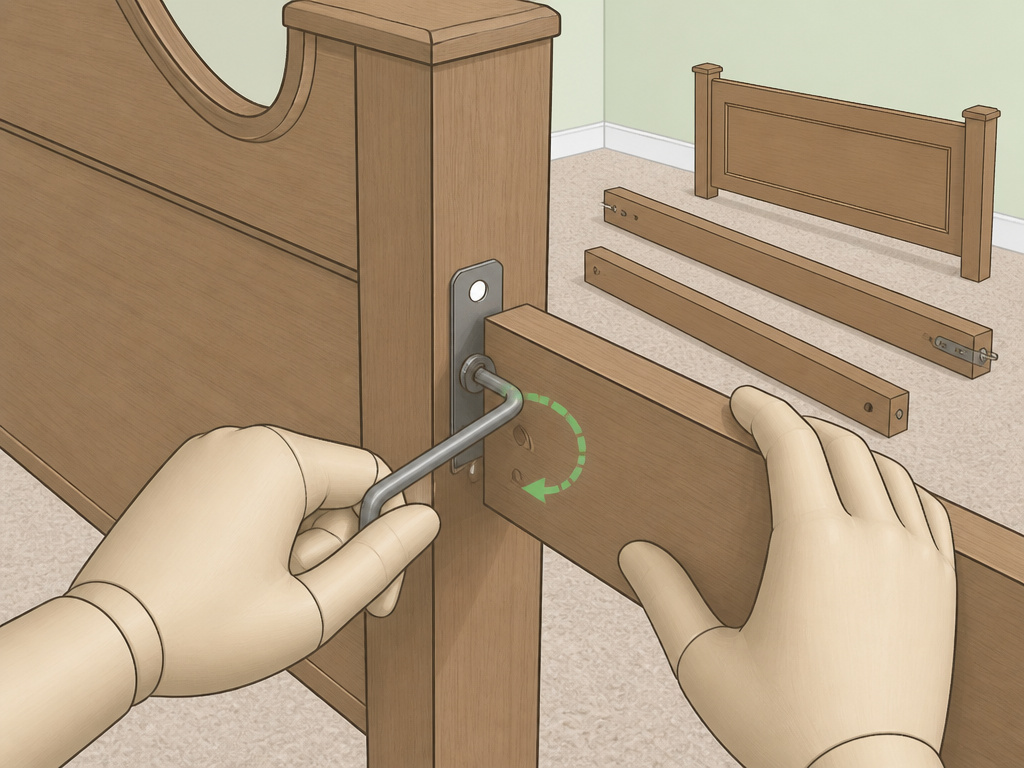
Clear a space on a carpeted floor. Unpack all parts and lay them flat with the labels facing up. Most panels are stamped with a letter or number on an unfinished edge.
Step 1: Identify the Headboard, Footboard, and Side Rails.
The headboard is often taller or more decorative. Side rails are identical and have cut-outs or holes for the mattress support brackets. Confusing the footboard and headboard means the bolt holes will not align in later steps.
Step 2: Connect Side Rails to the Headboard.
This is where the tightening sequence matters. Have one person hold the headboard upright. Insert the provided wood dowels into the pre-drilled holes on the side rail. Align the rail and hand-tighten the connecting bolts, usually Allen bolts that thread into barrel nuts embedded in the headboard.
Do not fully tighten yet. The Dorel Home Products manual states: “Do not completely tighten all hardware until the entire assembly is complete, unless otherwise indicated.” Snug the bolts enough to hold the joint, but leave a quarter-turn of play.
Step 3: Repeat for the Footboard.
Attach the second side rail to the footboard using the same method. You should now have a free-standing, slightly flexible rectangle.
Step 4: Square the Frame and Final-Tighten.
Lift the entire frame and set it down firmly on a flat surface to let it find its natural square. Now, follow the manual’s specified order to fully tighten all bolts. This typically starts with the headboard joints, then the footboard. The frame will stiffen as you go.
Mattress Support and Final Checks
Locate the metal mattress support frame. It will have hooks or brackets that attach to the inner sides of the long rails.
Step 5: Install the Support at the Highest Level.
For a newborn, attach the support at the highest setting. Use the specified bolts, often shorter than the frame bolts. Ensure it is centered and clicks securely into place. A wobbly or uneven support platform stresses the bolts and will creak.
Step 6: The Rock Test.
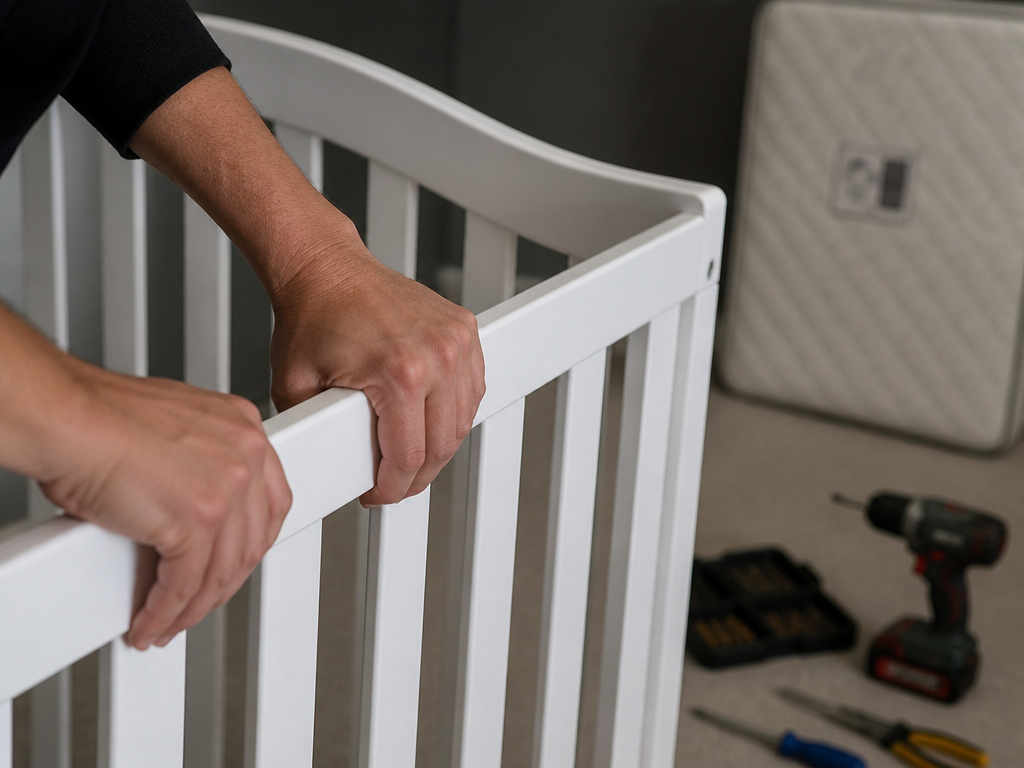
Before adding the mattress, grab the crib at the top rail and gently try to rock it diagonally. There should be no audible knocking or shifting. If there is, one of the primary joints is not tight. Re-check the headboard and footboard connections.
Step 7: Add Mattress and Verify Gaps.
Place your mattress for the crib onto the support. Push it firmly into one corner. Measure the gap on the opposite side. If you can fit more than two fingers (about 3cm) between the mattress and the crib side, the mattress is too small. This is a direct entrapment hazard.
Now add your fitted crib sheets. Ensure they are tight and cannot be pulled loose by little hands.
What Most People Get Wrong: Environmental Factors
Cribs live in bedrooms, where humidity fluctuates. A Rooms To Go manual for a wood crib explicitly warns that extreme changes can cause warping, swelling, or cracking.
Where this goes sideways: Placing a crib directly under a HVAC vent or against an outside wall. Consistent dry heat from a vent can shrink wood over a season, loosening every joint in the frame. The wobble appears gradually, and you’ll blame the assembly.
Do not use a humidifier pointed directly at the crib. The localized moisture can swell one side rail more than the other, racking the frame out of square. The fix is to move the crib to a stable, climate-controlled location and re-tighten all hardware after the wood stabilizes.
Converting the Crib for Later Stages
Convertible cribs transform into a toddler bed and sometimes a full-size headboard. The conversion always requires a kit sold separately.
Toddler Bed Conversion:
You remove the front rail and install a shorter safety rail. The mattress support remains at the lowest setting. This is the point where many parents add toddler bed rails for extra security. The manual will specify a minimum age, always 15 months, and a weight limit of 50 pounds.
Full Bed Conversion:
This uses the original headboard and footboard, attached to new, longer side rails and a center support leg from the conversion kit. It is a full reassembly, not a simple modification. Store the original hardware and instructions; you will need them.
Frequently Asked Questions
Can I assemble a crib by myself?
No. You need two people. One person must hold heavy panels like the headboard perfectly upright while the other aligns dowels and starts bolts. Attempting it alone almost always results in cross-threaded hardware or a frame that is twisted from the start.
What if I lost the Allen wrench?
Contact the manufacturer for a replacement. Do not buy a generic set unless you can verify the exact millimeter size. A 4mm key is not the same as a 5/32 inch key, and the difference will strip the bolt.
How tight should the bolts be?
Tighten until the bolt head is flush with the washer and you feel firm resistance. You should not be straining your wrist. Overtightening compresses the wood fibers, creating a weak point that will crack later. The manual’s instruction to “tighten all bolts firmly” means snug, not herculean.
Is it safe to use a used crib?
Only if you have the original manual, all original hardware, and can verify it has never been recalled. Check for cracks at the joints, especially around dowel holes. Never use a crib with missing or replaced parts.
When do I lower the mattress?
The instant your child can push up on hands and knees. Do not wait for them to pull all the way to standing. The transitioning to a big bed phase comes later; the lowest crib setting is your first safety step.
Before You Go
Assembling a crib is about precision, not force. Match the mattress to the printed spec, follow the manual’s tightening sequence to the letter, and anchor the whole process with two people. The right baby bedding, sheets, a mattress protector, a light blankets for the crib, comes after the structure is sound. Check the bolts every month. Wood breathes with your home, and a quick check is what stops a safe crib from becoming a shaky one.
